Hallo,
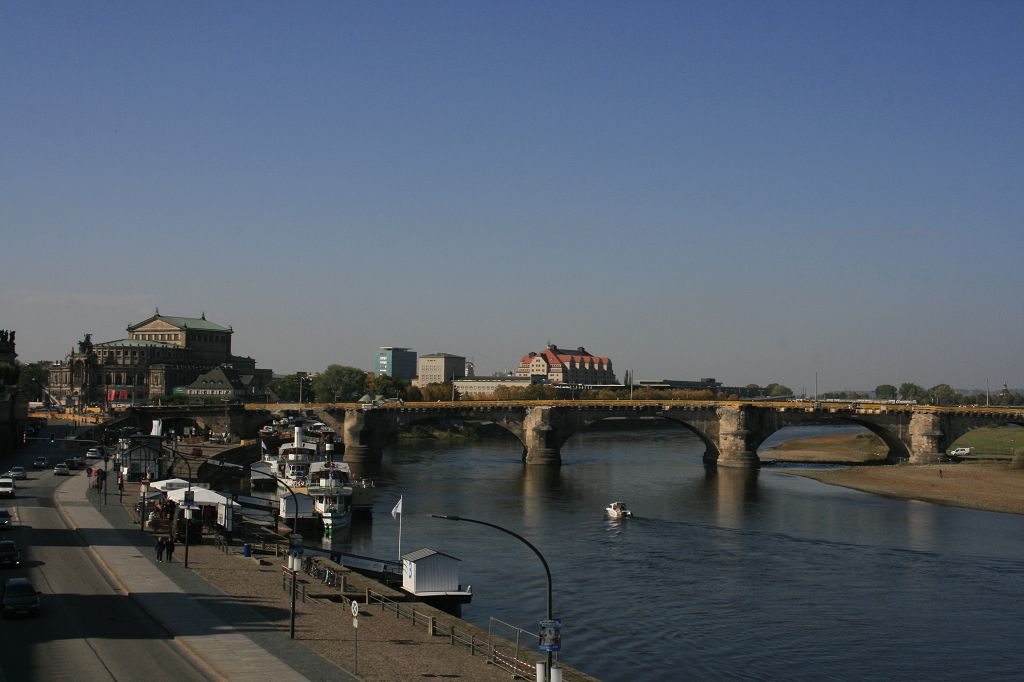
gestern haben wir einen Ausflug nach Dresden unternommen und hatten dabei sogar richtig Glück mit dem Wetter.
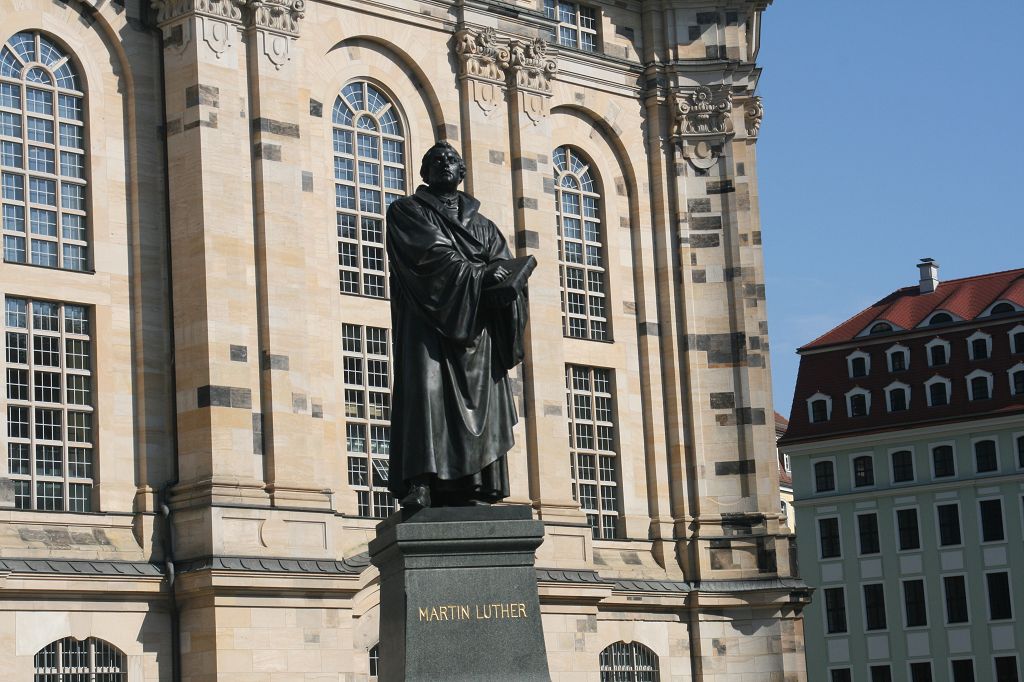
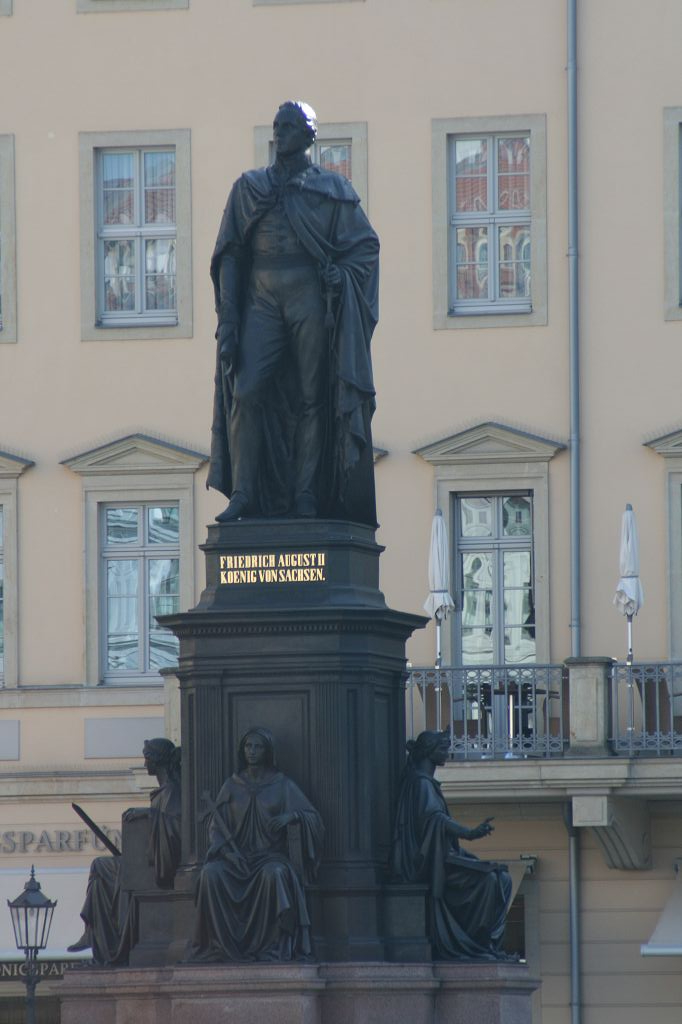
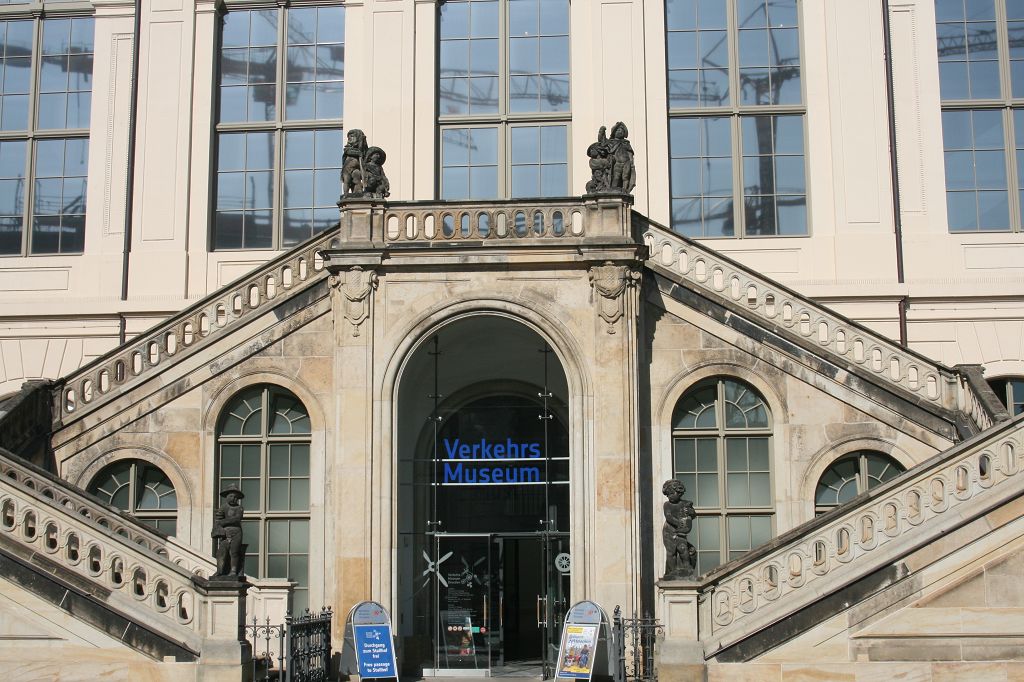
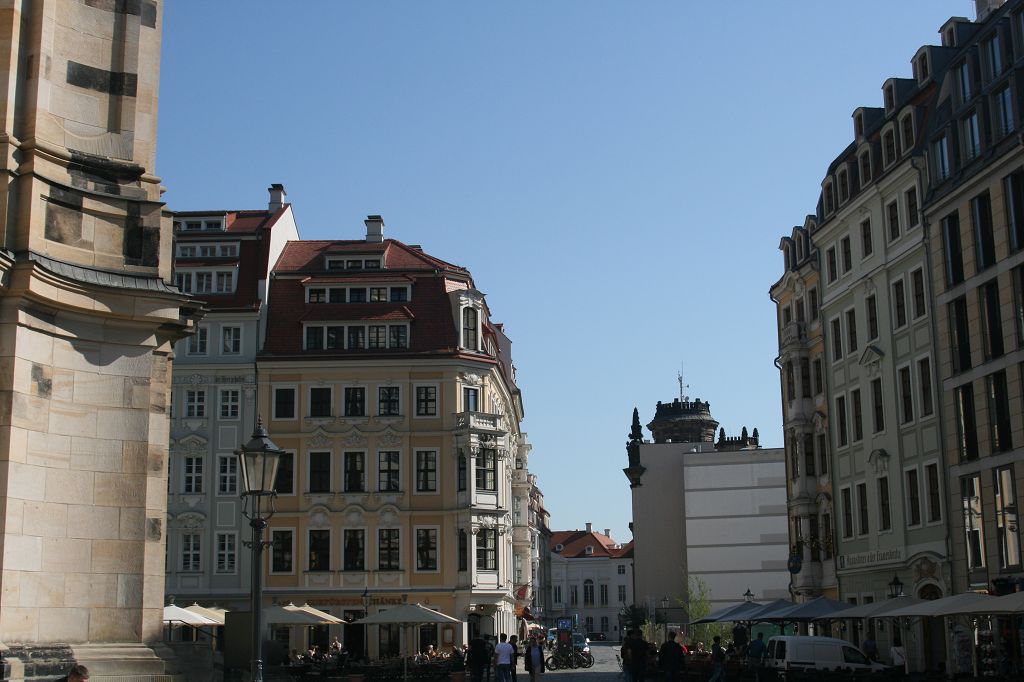
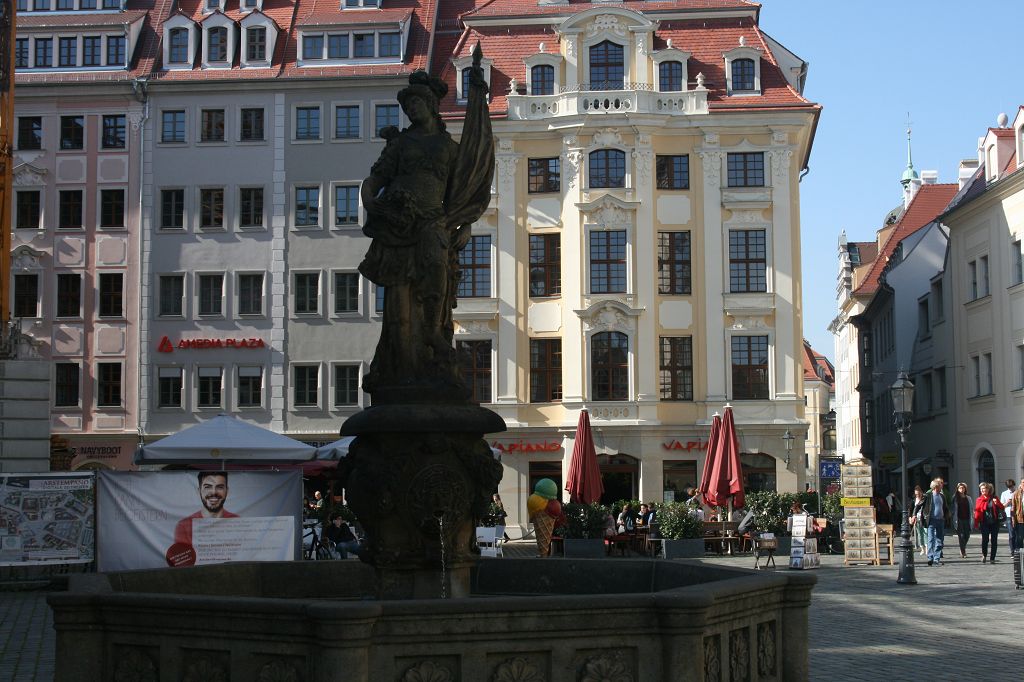
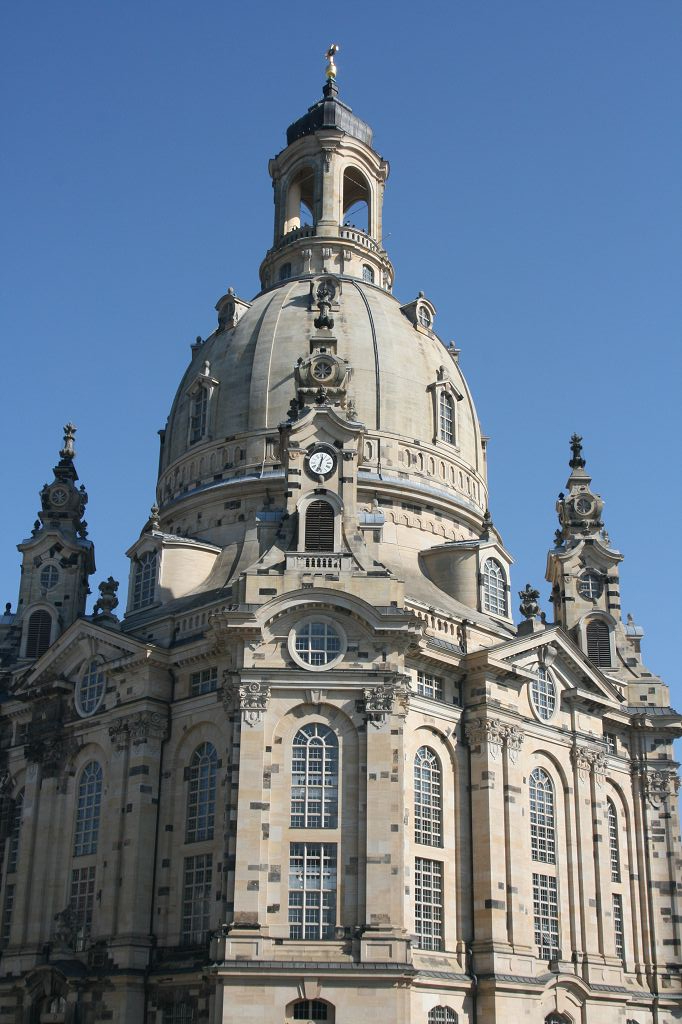
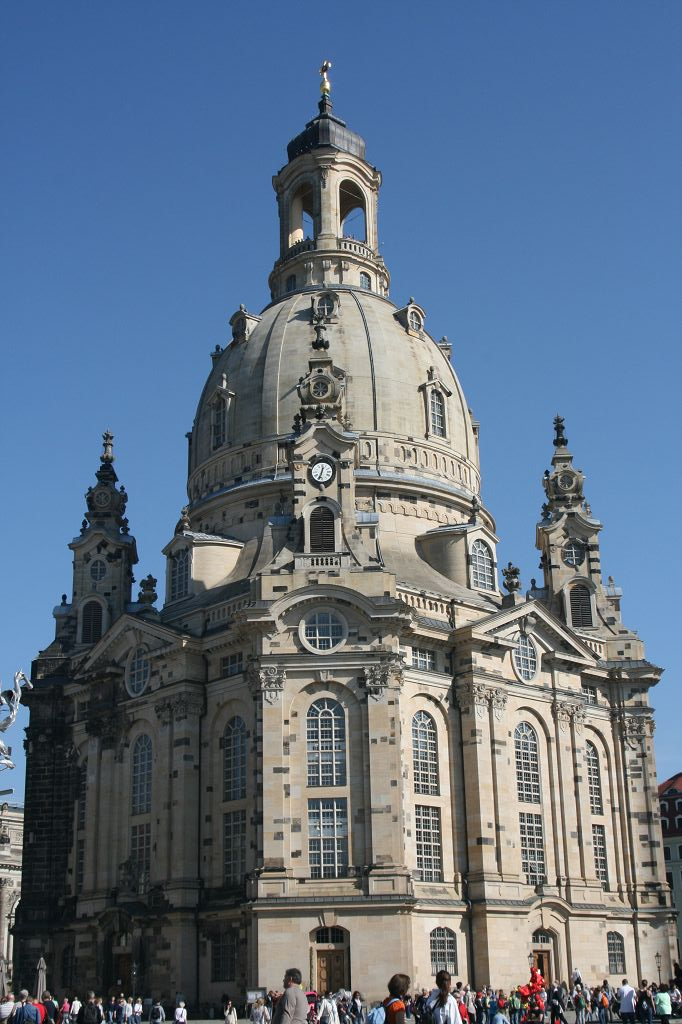
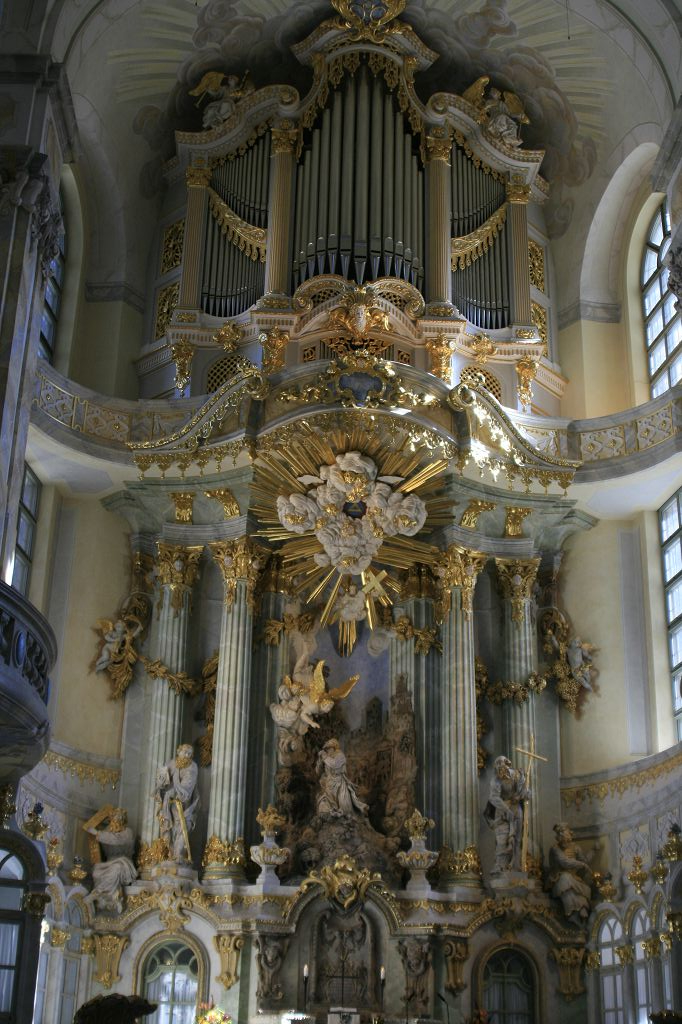
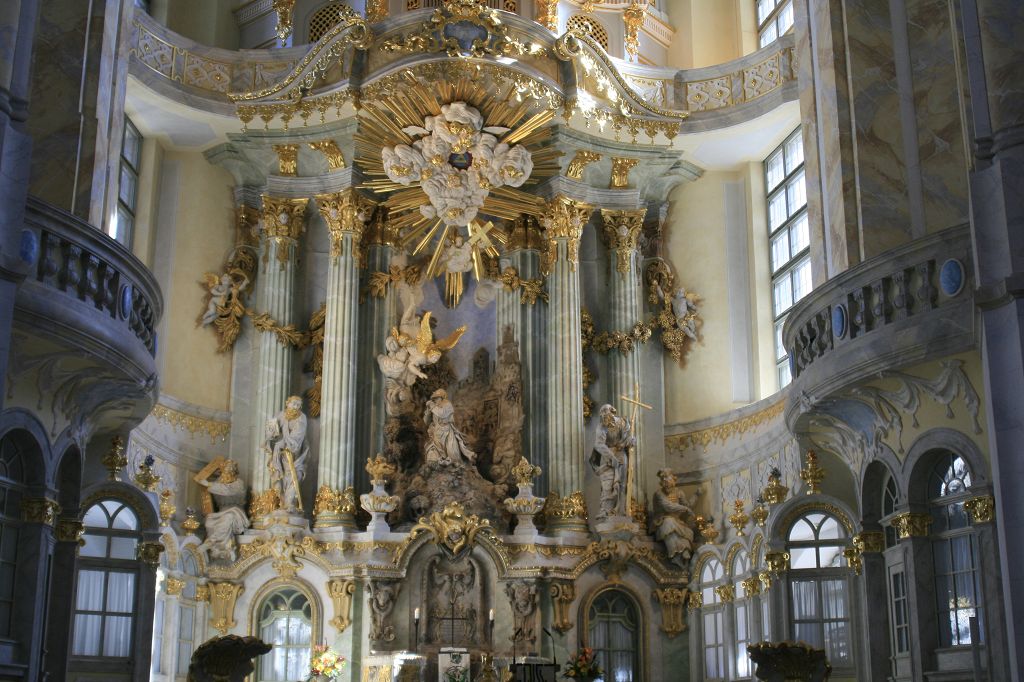
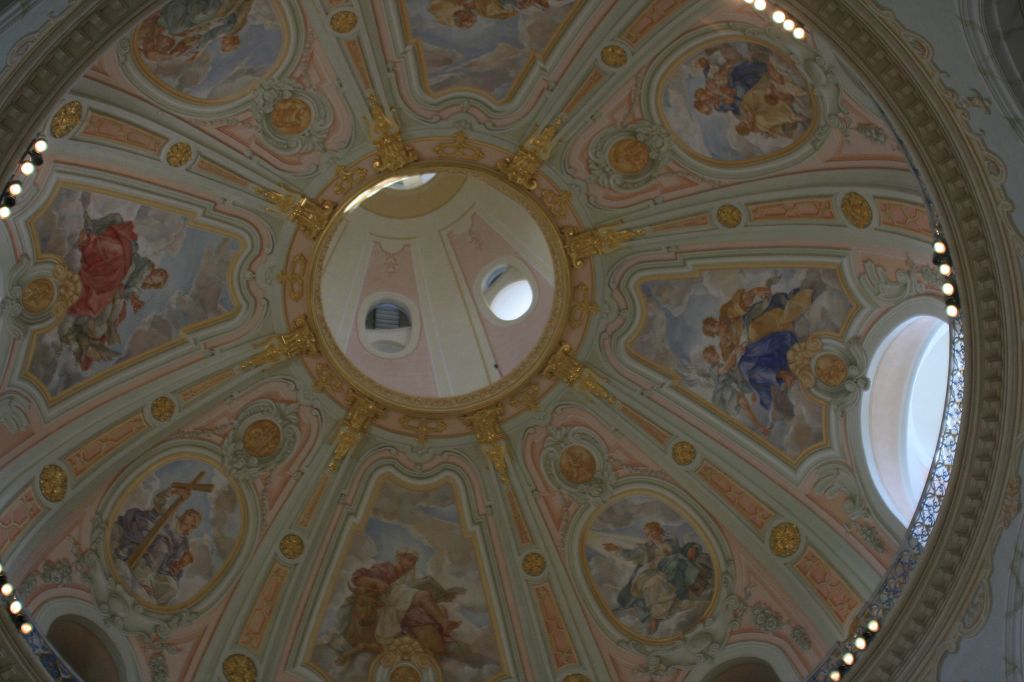
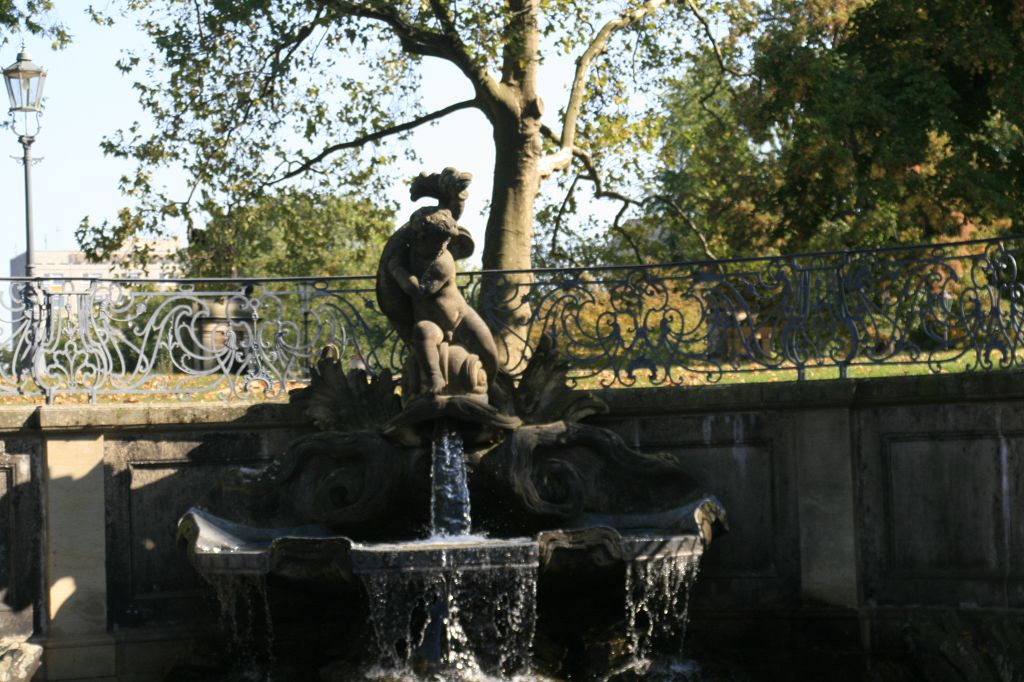
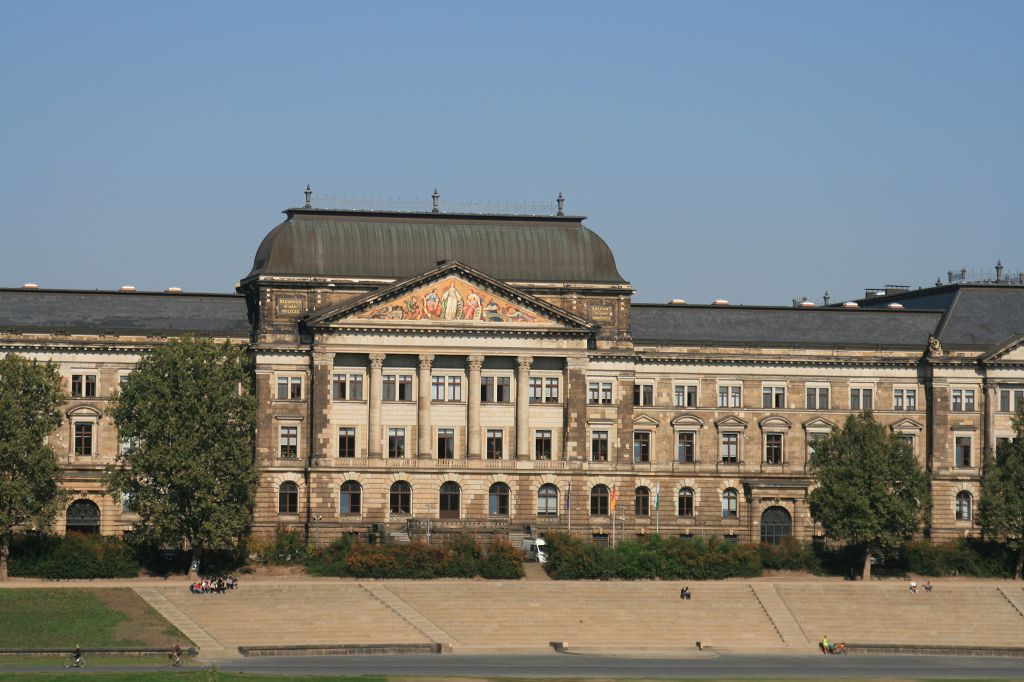
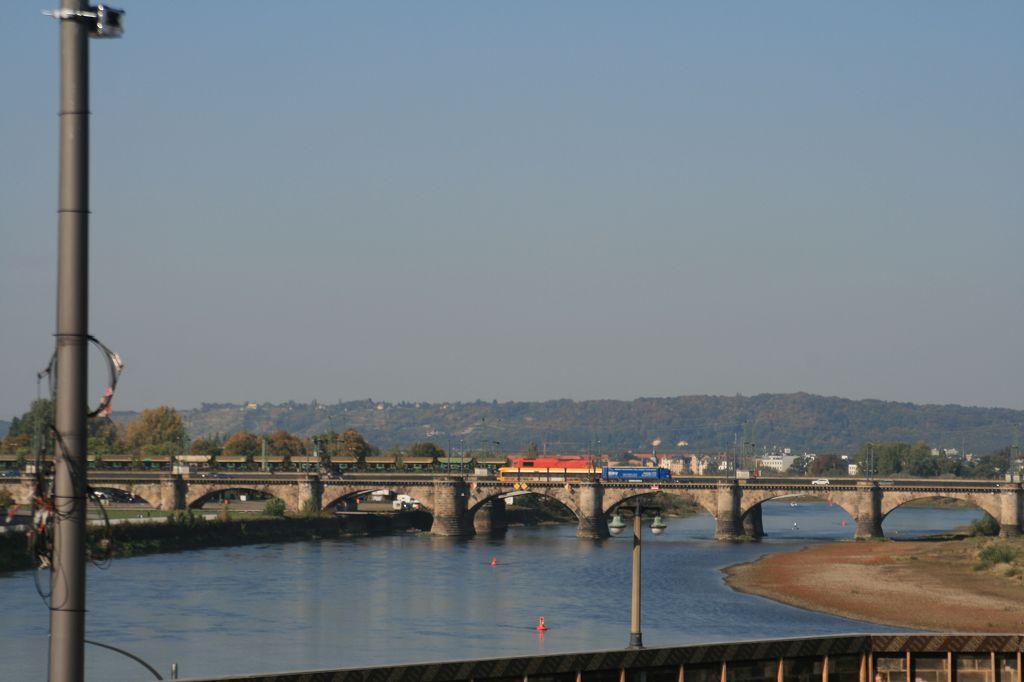
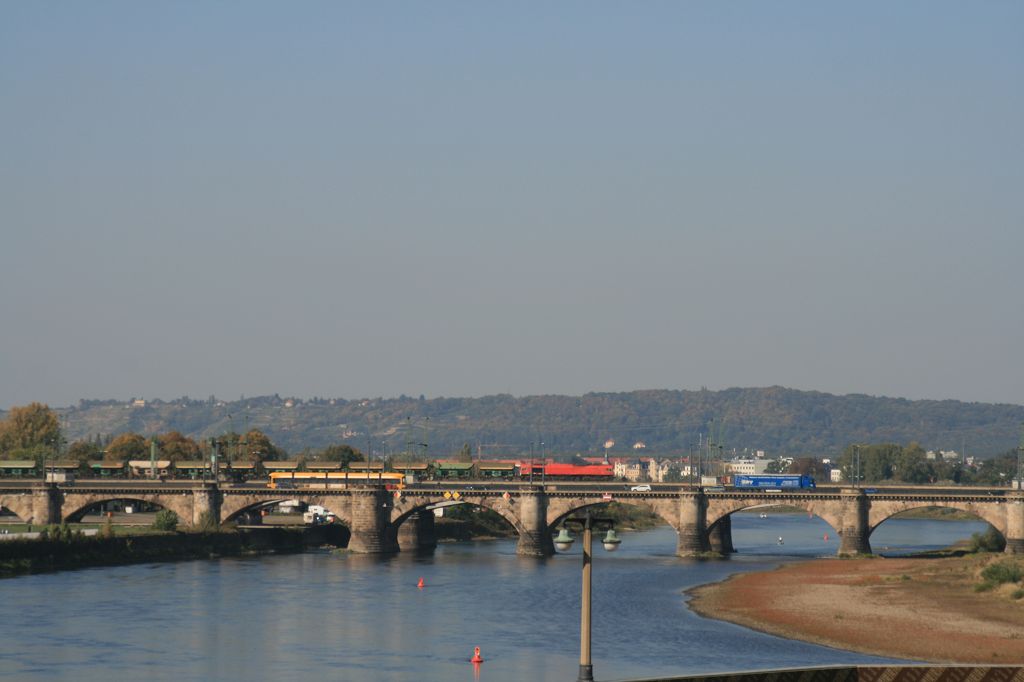
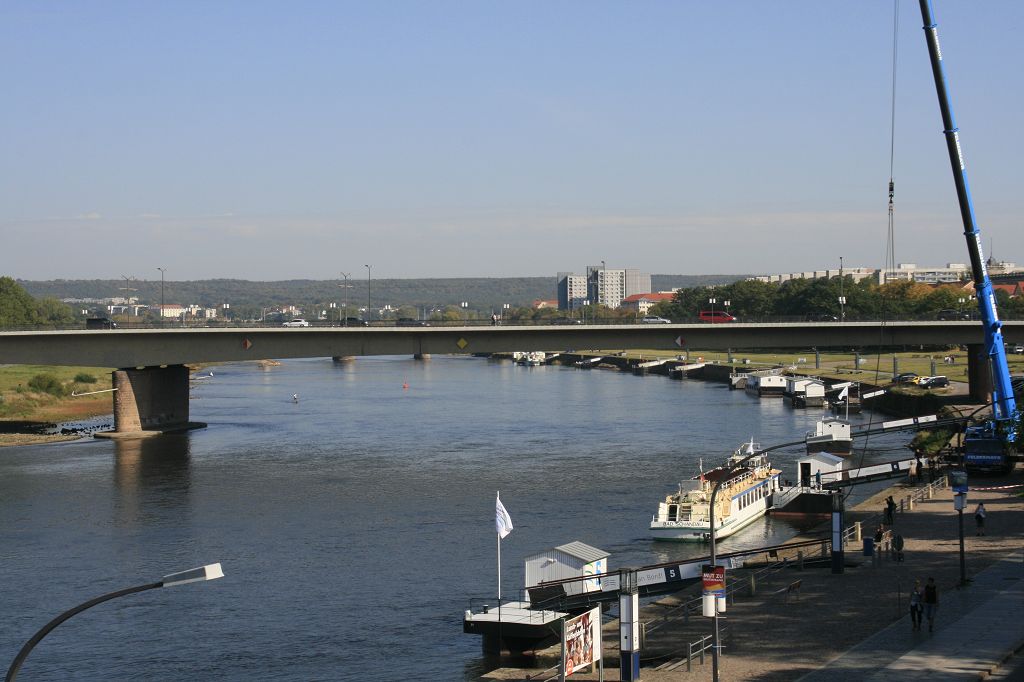
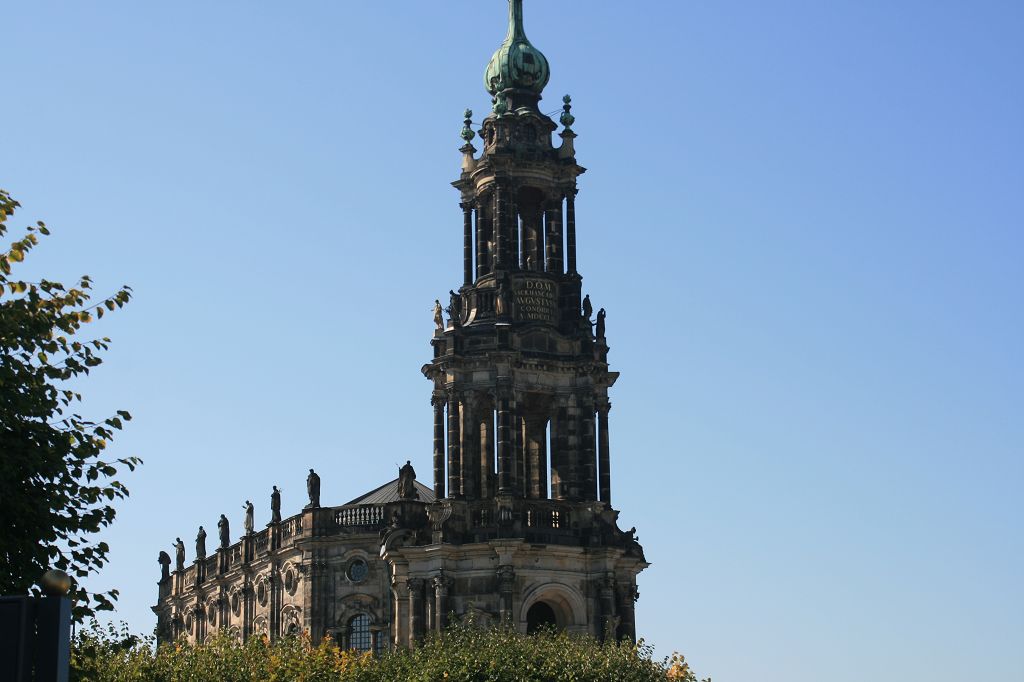
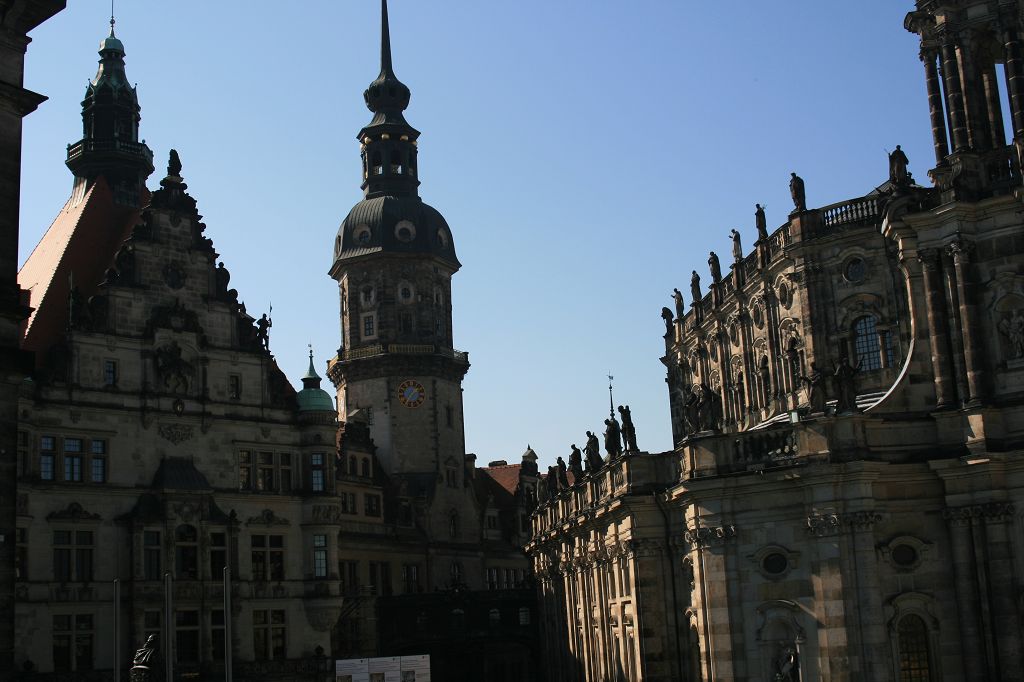
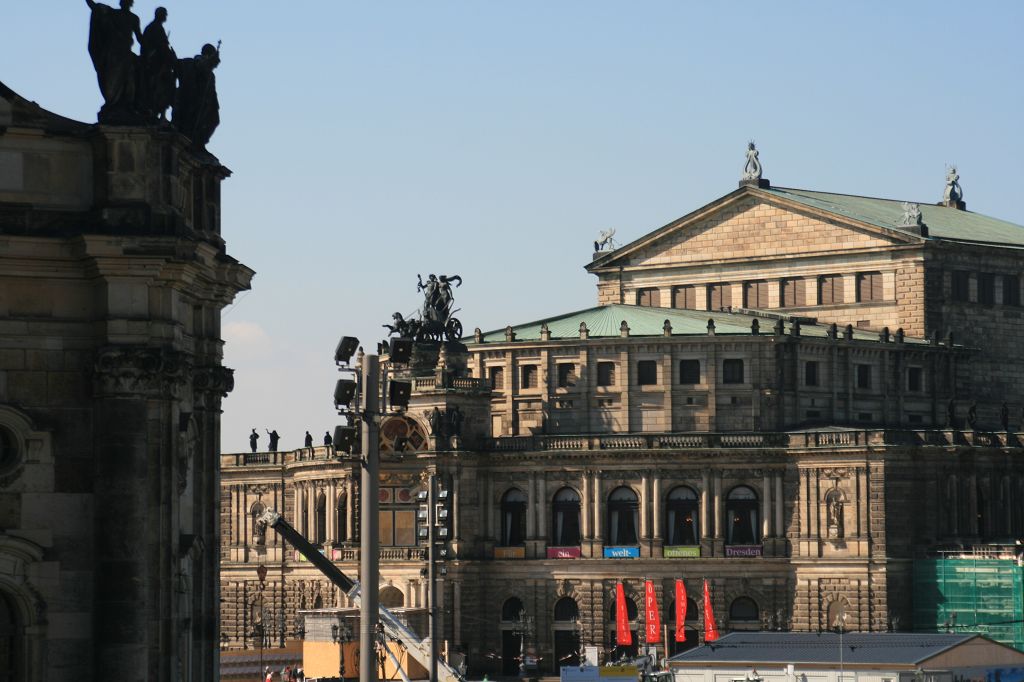
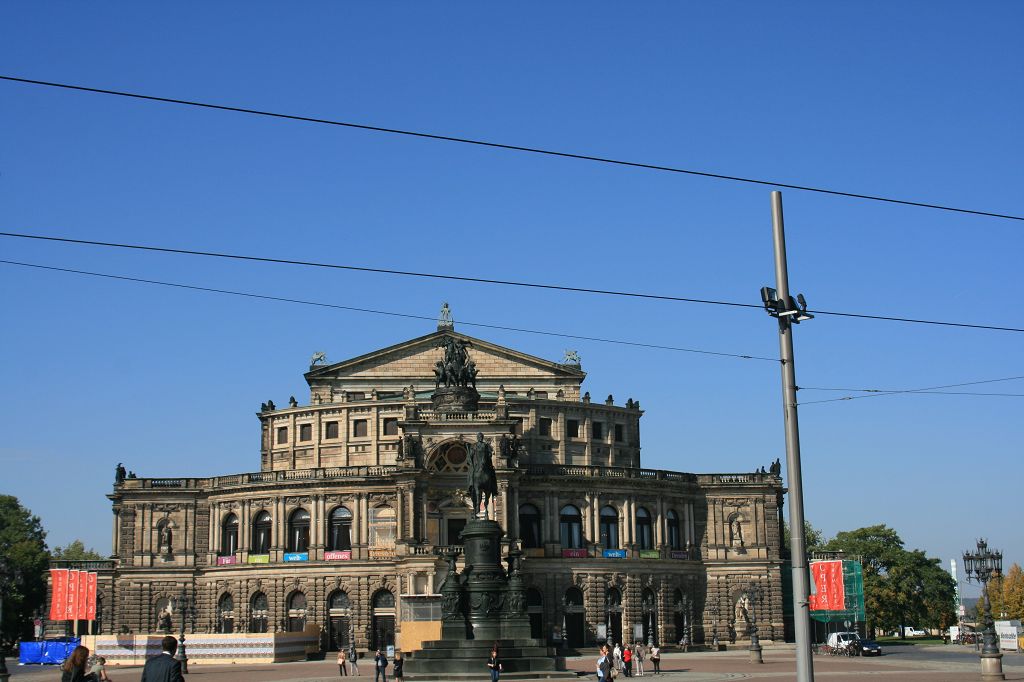
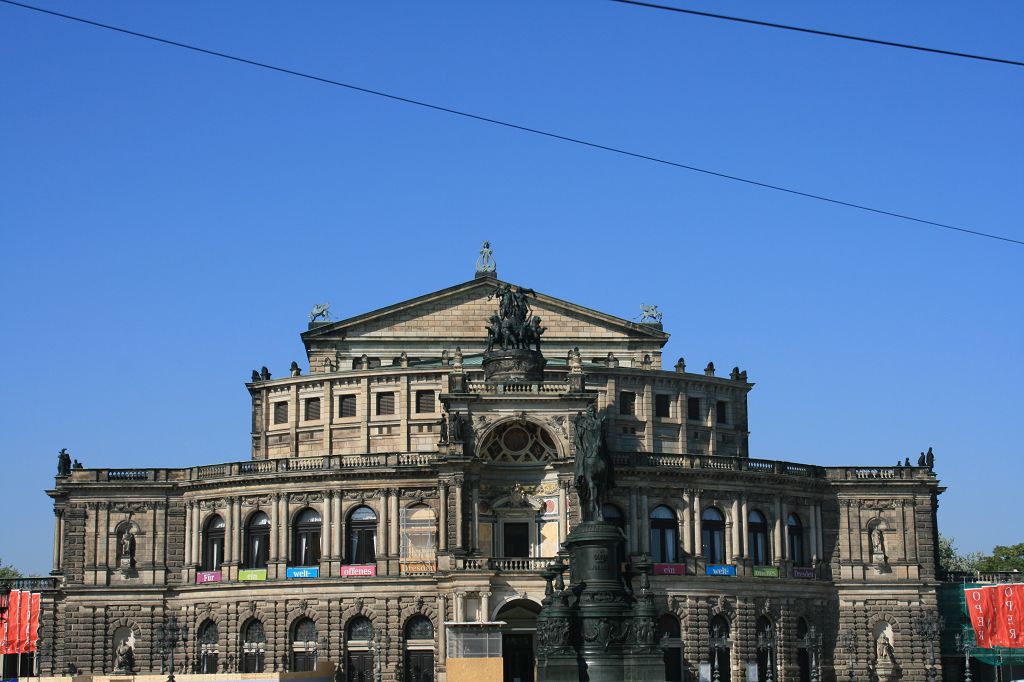
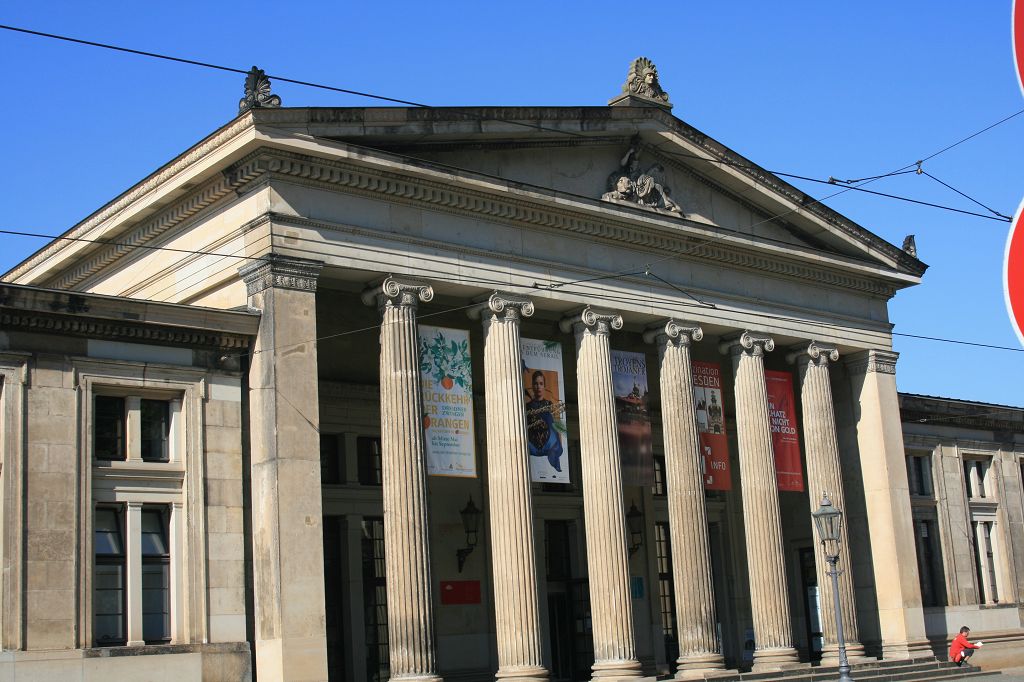
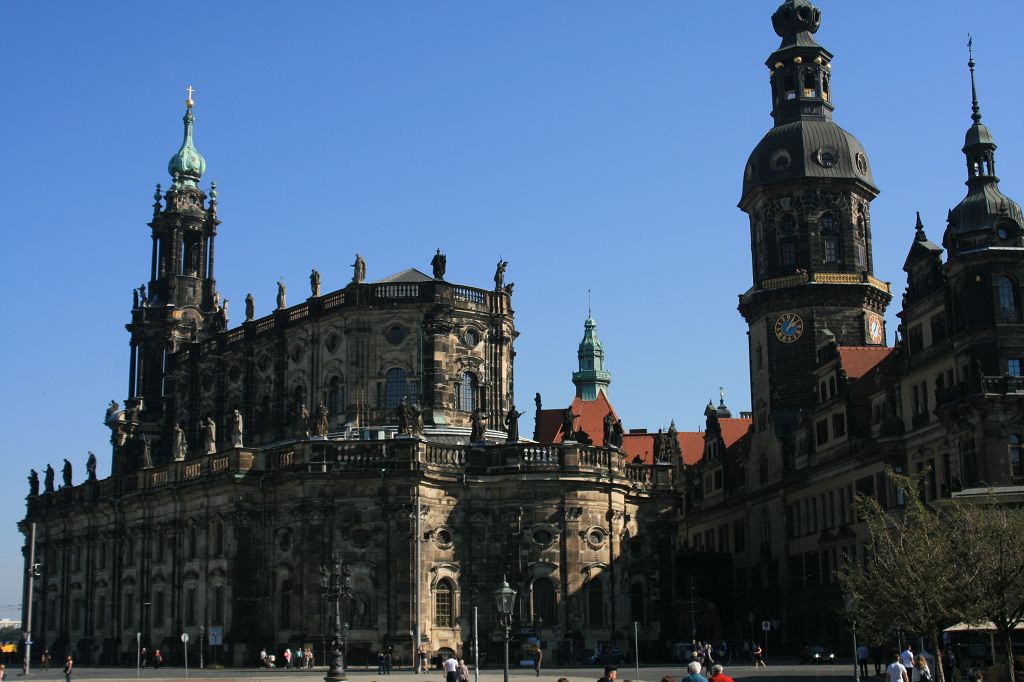
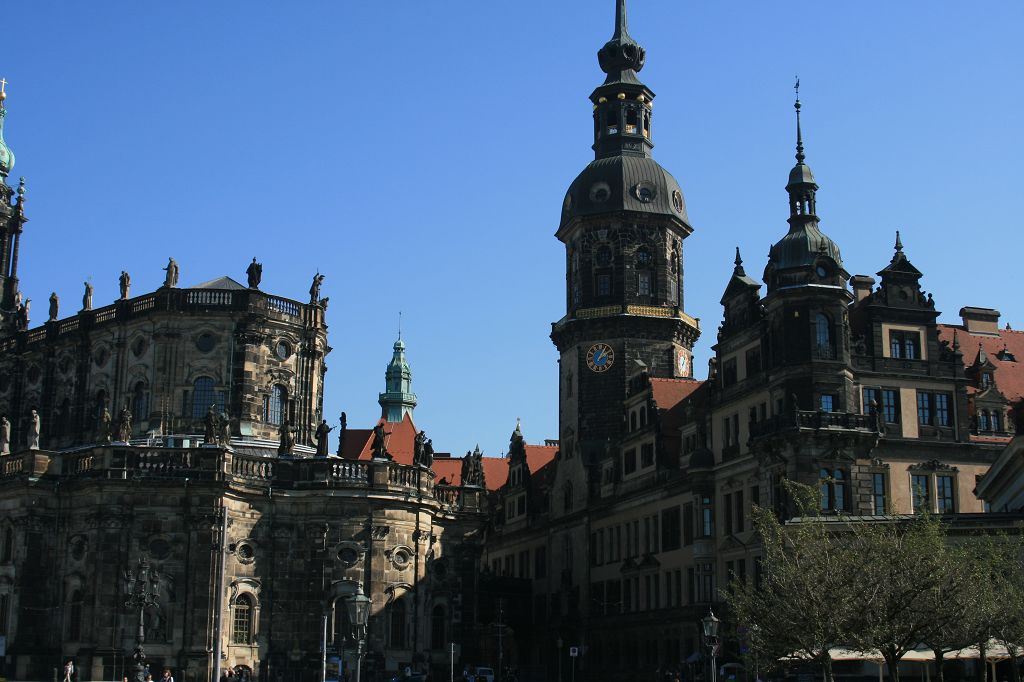
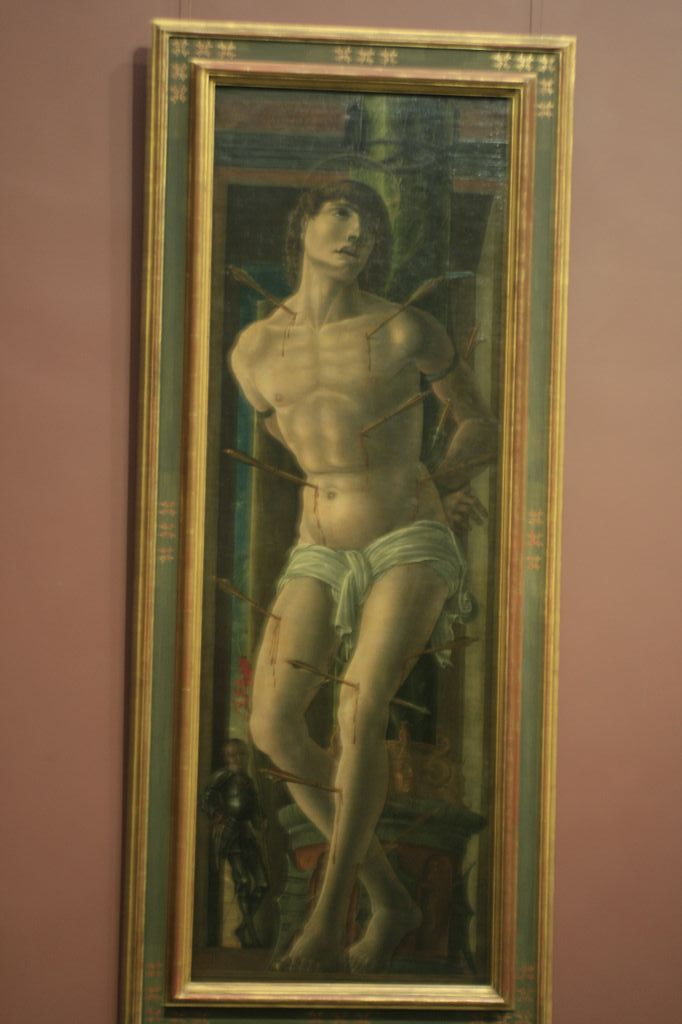
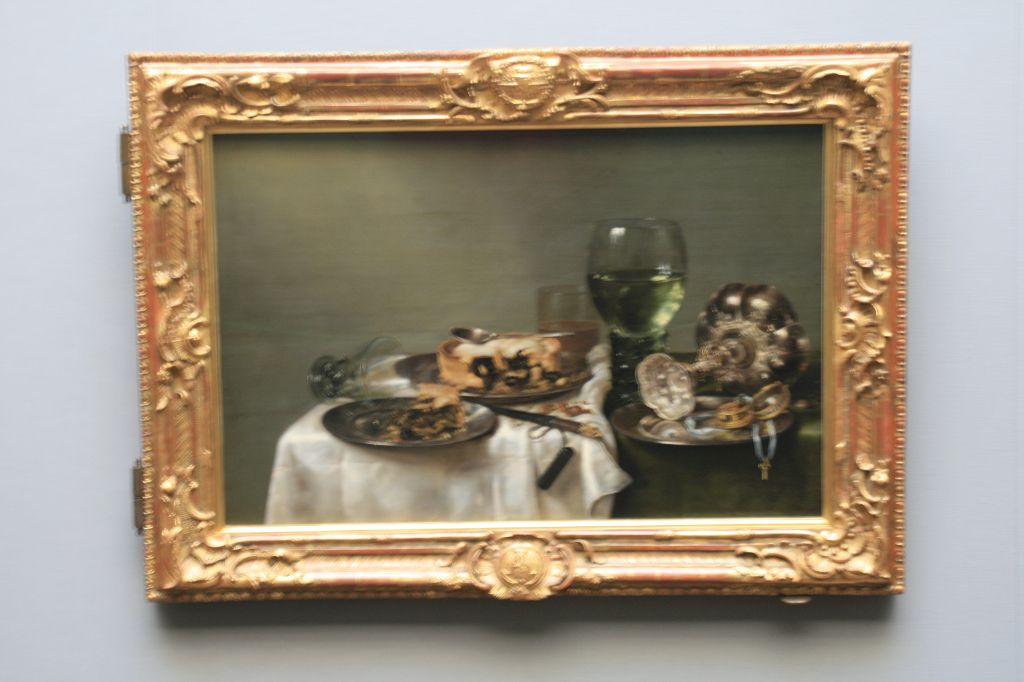
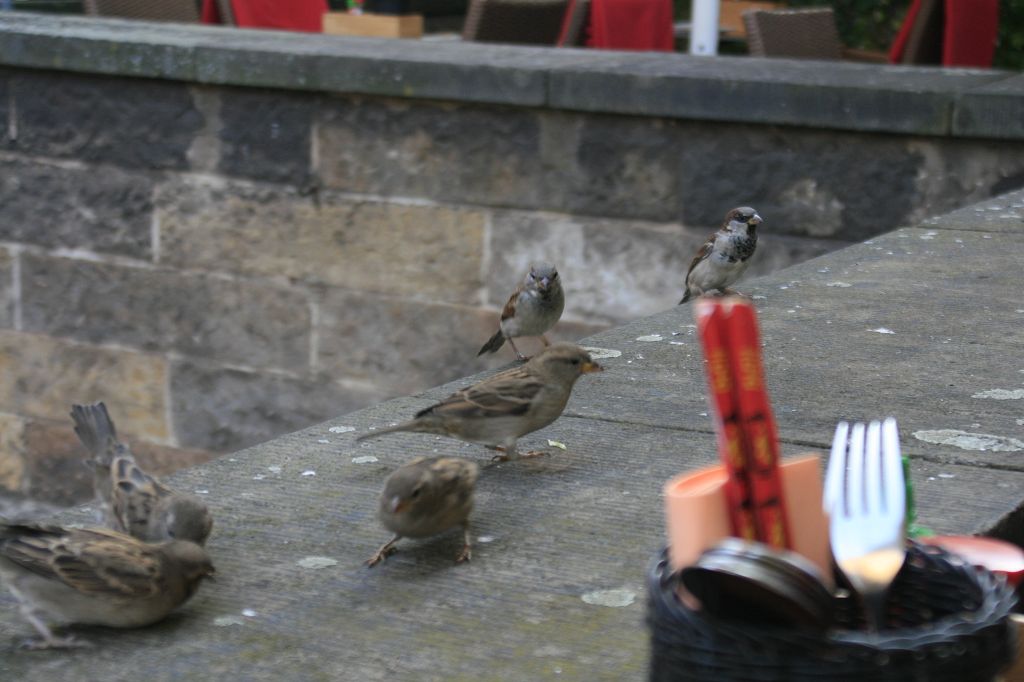
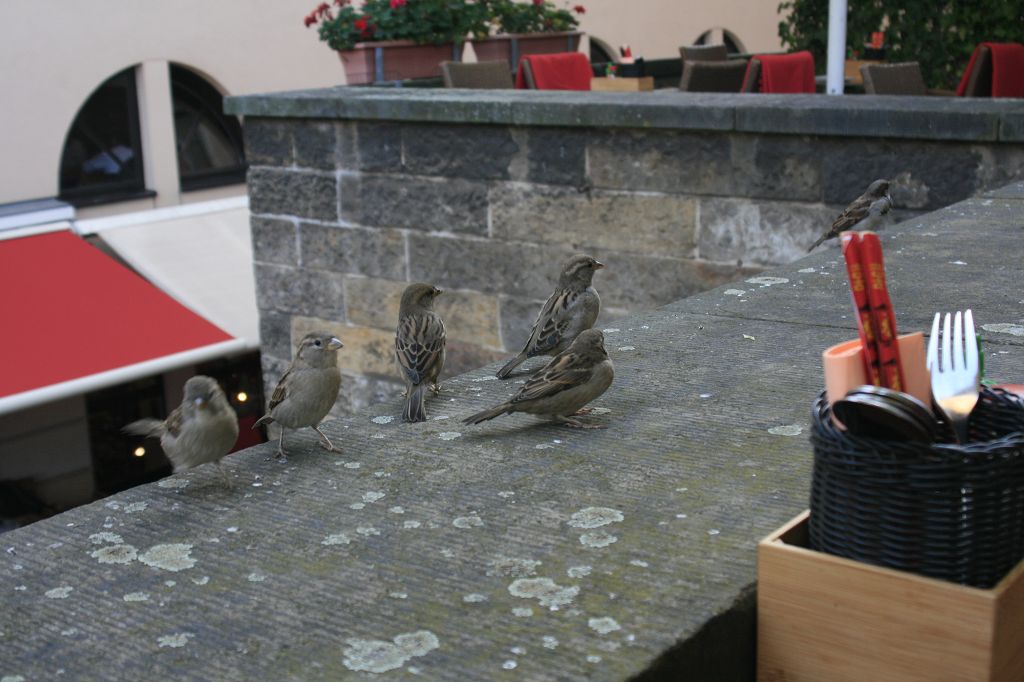
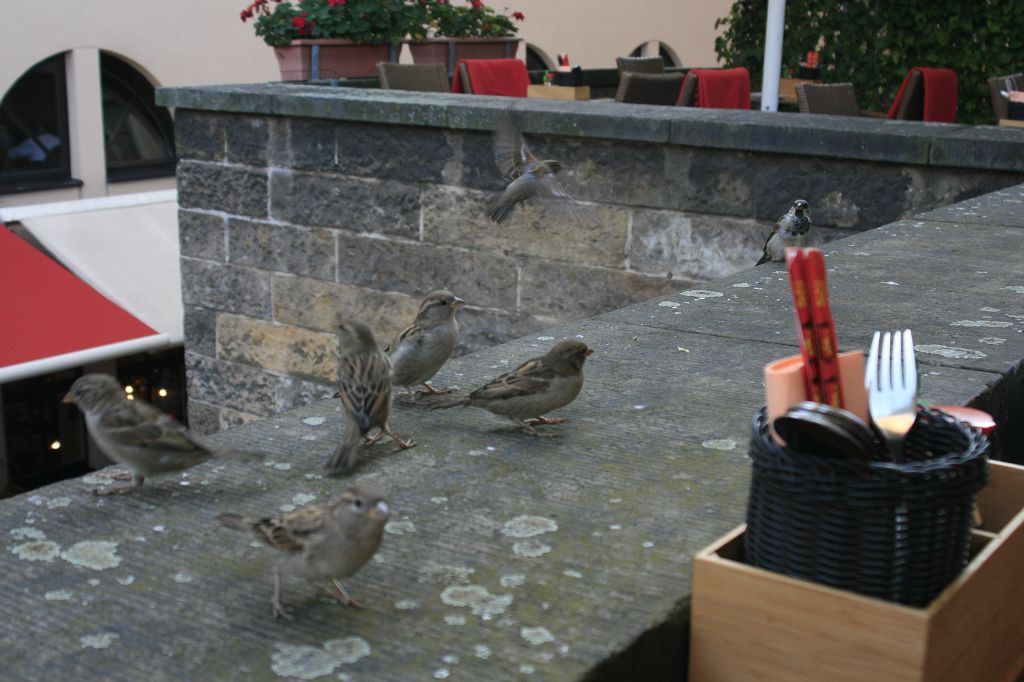
Es war mein erster Dresden-Besuch und ich muss sagen gerade der Bereich um die Frauenkirche gefällt mir sehr. Okay wir waren an der Frauenkirche gestartet haben uns natürlich diese auch von innen angeschaut. Dann sind wir weiter Richtung Elbe, wobei ich als geborener Hamburger nur dachte, ach ist die Elbe hier oben niedlich klein *gg*. Von hier sind wir weiter Richtung Schloss, Semperoper und den Zwinger. Im Zwinger waren wir dann noch in der Gemäldegalerie Alte Meister. Zum krönenden Abschluss waren wir in einem China-Restaurant essen, wo Spatzen uns das Essen am liebsten weggenommen hätten.
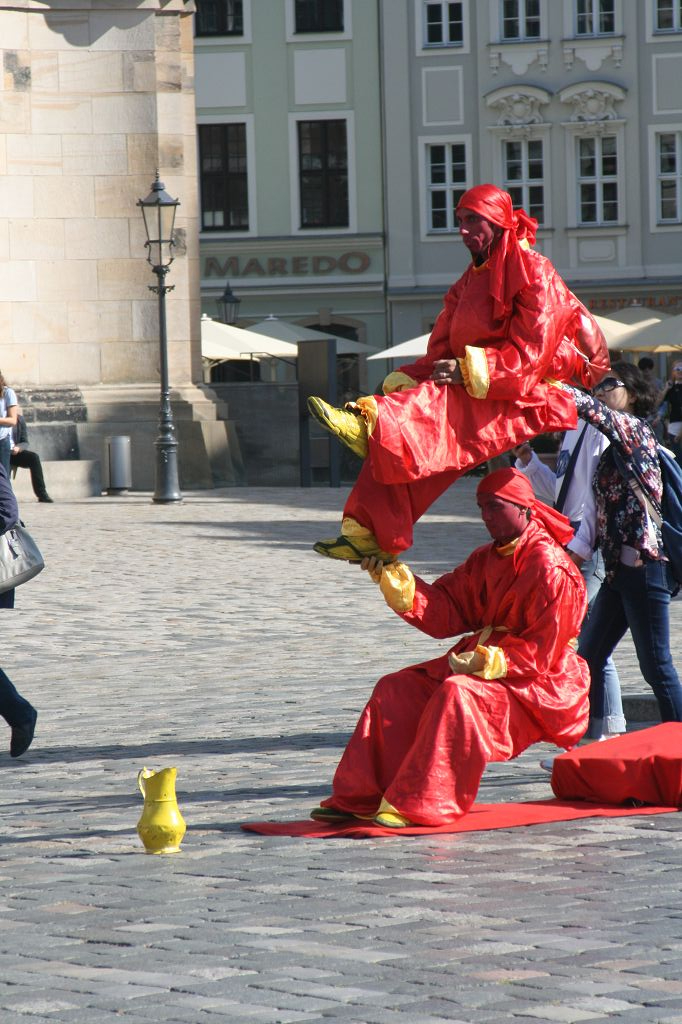
Hier hab ich ein Paar Bilder für euch von unserem gestrigen Tag. Leider waren die Bilder aus der Galerie nichts geworden, aber ich hab mal die besten Bilder als Beweis drin gelassen.